Views: 0 Author: Site Editor Publish Time: 2024-08-16 Origin: Site
Mini PCs represent a compact and efficient alternative to traditional desktop computers. They are designed to be small in size, often no larger than a few inches in width and height, yet they pack enough power to handle everyday tasks such as web browsing, document editing, and even light gaming. These systems typically feature low-power processors, integrated graphics, and a minimal amount of RAM and storage, making them ideal for spaces where a full-sized desktop would be impractical or where a sleek, unobtrusive design is preferred.
Despite their small footprint, mini PCs offer versatility and can be customized to suit a variety of needs. They are commonly used in home theater setups, as office workstations, for digital signage, or as a compact computing solution for educational institutions. The key to their appeal lies in their ability to provide a balance between size, performance, and energy consumption, making them a popular choice for those seeking a more efficient and space-saving computing experience.

While both mini PCs and traditional desktop computers serve the purpose of computing, the distinction between the two is quite significant, with mini PCs offering several advantages that set them apart.
Mini PCs stand out for their exceptional portability and space-saving design. Unlike their desktop counterparts, which often require a dedicated workspace due to their larger size and the need for multiple peripherals, mini PCs can be tucked away almost anywhere. Their compact size means they can be mounted behind a monitor, attached to the back of a TV, or even carried in a pocket, making them a perfect solution for environments where space is at a premium. Additionally, mini PCs typically consume less power, which not only saves on electricity bills but also contributes to a greener computing environment. Their quiet operation, often fanless designs, and minimal heat output make them ideal for noise-sensitive settings such as living rooms or bedrooms.
In terms of performance, while mini PCs may not match the raw power of high-end desktops, they are more than capable for most daily tasks. Their efficiency and the fact that they often come with solid-state storage and modern connectivity options like Wi-Fi and Bluetooth make them a compelling choice for users who prioritize convenience, aesthetics, and energy efficiency over the highest level of computing power.
Constructing a mini PC is a nuanced process that involves selecting the right components to achieve the perfect blend of performance, size, and cost-effectiveness. Here are the critical considerations for assembling a mini PC that aligns with your requirements:
Application: Define the primary role of the mini PC. Whether it’s for standard office work, media streaming, or light gaming, the intended use will shape your component choices.
Central Processing Unit (CPU): Select a CPU that aligns with your performance expectations. Basic tasks may be handled by entry-level processors, while more complex tasks might require a mid-range or higher-performance chip.
Motherboard Size: Mini-ITX and Nano-ITX are common choices for mini PCs. Ensure the chosen case is compatible with the motherboard size.
Enclosure Design: The case should be able to house all components while fitting into a compact space. Pay attention to cooling capabilities, component layout, and the aesthetic you’re aiming for.
Random Access Memory (RAM): Depending on the motherboard and CPU, mini PCs typically support up to 16GB or 32GB of RAM. Choose the speed and capacity that match your multitasking needs.
Storage: Solid State Drives (SSDs) are preferred for their speed and compact size. NVMe SSDs can offer even faster performance for data-intensive tasks.
Power Supply Unit (PSU): Look for compact PSUs, such as SFX or picoPSU, which are designed for small form factor builds and consume less power.
Heat Management: Given the limited space, it’s crucial to select components with low TDP and consider passive cooling options to minimize noise.
Airflow: The case should allow for proper airflow. Some cases come with pre-installed fans or can accommodate custom cooling systems.
Ports: Ensure the availability of USB ports, video outputs like HDMI or DisplayPort, and Ethernet for networking. Additional ports can enhance connectivity and future-proof your build.
Expansion Slots: Consider the need for expansion slots for potential upgrades, such as wireless cards or other peripherals.
Cost-Effectiveness: Compare the cost of sourcing components individually versus purchasing a pre-built system. Building a mini PC can be a cost-effective option, but it’s important to balance component costs with performance needs.
By meticulously evaluating these factors, you can assemble a mini PC that is not only tailored to your current needs but also designed with scalability in mind, ensuring a durable and adaptable compact computing solution.
Building a mini PC is a rewarding process that requires careful planning and attention to detail. Here’s a systematic approach to constructing your own mini PC:
Step 1: Plan and Gather Components
Research: Decide on the purpose of your mini PC and research compatible components.
Purchase: Acquire the following components: CPU, motherboard, RAM, storage (SSD/HDD), power supply, and case.
Step 2: Prepare Your Workspace
Tools: Ensure you have the necessary tools, such as a screwdriver, thermal paste, and cable ties.
Static Control: Use an anti-static wrist strap to prevent damage to sensitive components.
Step 3: Install the CPU
Socket: Open the CPU socket on the motherboard and carefully insert the CPU, ensuring it aligns with the socket’s orientation.
Thermal Paste: Apply a small amount of thermal paste to the center of the CPU before placing the cooler on top.
Step 4: Mount the CPU Cooler
Attachment: Secure the CPU cooler to the motherboard following the manufacturer’s instructions. Ensure it is firmly attached and making good contact with the CPU.
Step 5: Install the Motherboard
Case Preparation: Place standoffs in the case to align with the motherboard mounting holes.
Mounting: Carefully insert the motherboard into the case and secure it with screws.
Step 6: Install Memory (RAM)
Slots: Open the RAM slots on the motherboard and insert the RAM sticks at a 45-degree angle, ensuring they click into place and are fully seated.
Step 7: Install Storage Drives
Mounting Points: Secure your SSD or HDD to the appropriate mounting points in the case or motherboard.
Connectors: Connect the storage drives to the motherboard using SATA or NVMe connectors.
Step 8: Install the Power Supply
Location: Depending on the case design, mount the power supply unit (PSU) in the designated area.
Connections: Connect the necessary power cables from the PSU to the motherboard, CPU, and storage drives.
Step 9: Connect Peripherals and Cables
Front Panel: Connect the front panel headers to the motherboard for buttons and LEDs.
Expansion Cards: If using any expansion cards (e.g., Wi-Fi, Bluetooth), insert them into the appropriate slots and secure them.
Step 10: Test the System
Power On: Connect the power supply and press the power button to ensure the system boots up.
POST: Check that the system passes the Power-On Self-Test (POST) and that all components are recognized.
Step 11: Install the Operating System
Boot Media: Use a USB drive or DVD to boot into the installation media for your chosen operating system.
Installation: Follow the on-screen instructions to install the OS and necessary drivers.
Step 12: Final Touches and Cooling
Cable Management: Neatly arrange and secure cables to improve airflow and aesthetics.
Case Closure: If everything is functioning correctly, close the case and ensure all screws are tightened.
By following these steps, you’ll have a custom-built mini PC that meets your specific needs. Remember to refer to the documentation for each component for any model-specific instructions or tips.
The cost of building a mini PC can vary widely depending on the components you choose. Here’s an overview of what you might expect to spend in each category:
Processor: An entry-level CPU suitable for light tasks like web browsing and document editing.
Motherboard: A budget-friendly mini-ITX board with basic features.
Memory: 4GB to 8GB of RAM, which is adequate for basic computing.
Storage: A 128GB or 256GB SSD for fast boot times and application performance.
Power Supply: A low-wattage SFX or picoPSU, typically ranging from 80W to 120W.
Case: A compact and affordable case that fits a mini-ITX motherboard.
Estimated Cost: $200 -$300
This category is ideal for users with very basic computing needs, looking for a cost-effective solution that still offers the benefits of a mini PC.
Processor: A mid-tier CPU with better performance for multitasking and light gaming.
Motherboard: A mid-range mini-ITX board with more advanced features, such as better audio, more USB ports, and possibly Wi-Fi/Bluetooth built-in.
Memory: 8GB to 16GB of RAM for improved multitasking and performance.
Storage: A 256GB or 512GB SSD, or a combination of an SSD for the OS and a larger HDD for data storage.
Power Supply: A higher-wattage SFX PSU, typically ranging from 150W to 200W.
Case: A higher-quality case with better cooling options and aesthetics.
Estimated Cost: $400 -$600
The mid-range option is suitable for users who need a bit more power for productivity tasks, multimedia consumption, and some gaming.
Processor: A high-performance CPU capable of handling more demanding tasks and higher-end gaming.
Motherboard: A premium mini-ITX board with advanced features, such as more expansion slots, better overclocking capabilities, and high-end audio.
Memory: 16GB to 32GB of RAM for heavy multitasking and resource-intensive applications.
Storage: A high-capacity NVMe SSD, possibly in a RAID configuration, for lightning-fast data access and ample storage space.
Power Supply: A high-quality, high-wattage SFX PSU, typically over 200W.
Case: A premium case with superior build quality, advanced cooling solutions, and a sleek design.
Estimated Cost: $700 -$1000+
High-end mini PCs are for users who require top performance in a compact form factor, including those who engage in high-end gaming, video editing, or other CPU/GPU-intensive tasks.
It’s important to note that prices can fluctuate based on market conditions, component availability, and sales. Additionally, the total cost may increase if you opt for additional features like liquid cooling, custom paint jobs, or high-end peripherals. Always consider your specific needs and budget when selecting components for your mini PC build.
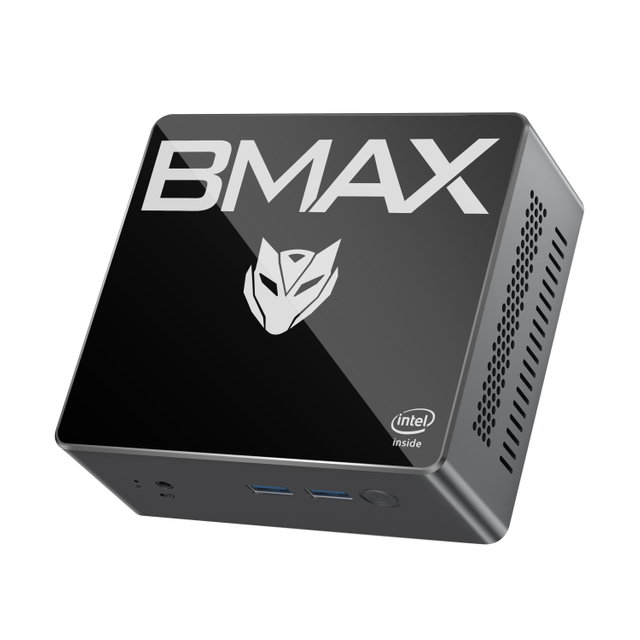
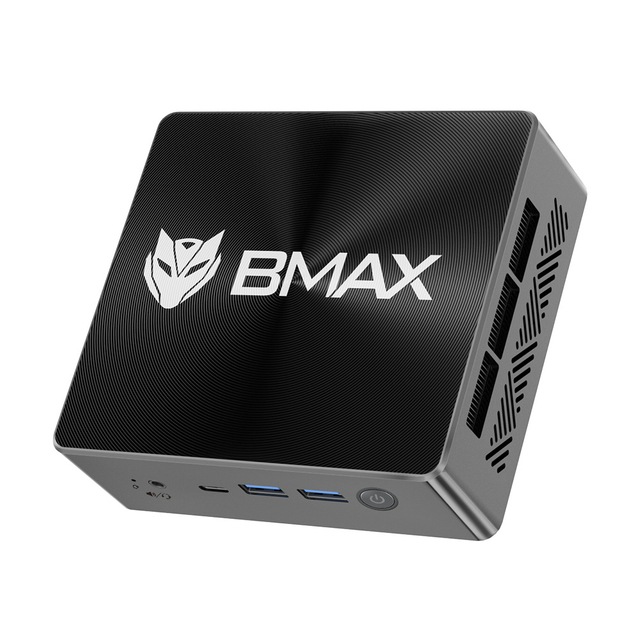
While the process of building a mini PC can be a rewarding and personalized experience, it’s not the only path to acquiring a high-quality, compact computing solution. For those who value convenience, expertise, and a comprehensive warranty, choosing a pre-built mini PC from a trusted supplier like Bmaxit is an excellent alternative.
Quality Components: Bmaxit mini PCs are crafted with the same attention to detail and quality components that you would select for a custom build. Each system is designed to deliver reliable performance for a range of applications.
Expert Engineering: Our team of engineers has years of experience in designing mini PCs that balance performance with thermal efficiency, ensuring that your Bmaxit mini PC runs cool and quiet.
Customization Options: Bmaxit offers a variety of configurations to suit different needs. Whether you’re looking for a basic office workstation or a high-performance mini PC for gaming and multimedia, we have an option that fits your requirements.
Warranty and Support: With Bmaxit, you’re not just getting a mini PC; you’re getting peace of mind. Our products come with a solid warranty and dedicated customer support to resolve any issues quickly and efficiently.
Affordability: Our pre-built mini PCs are priced competitively, offering a cost-effective solution that may be more budget-friendly than sourcing and assembling components yourself.
Visit our Mini PC product page to discover our full range of mini PCs. Each model is designed to deliver the perfect blend of power, size, and affordability, making it an ideal choice for both personal and professional use.
Whether you’re looking to save time, ensure quality, or simply want the convenience of a ready-to-use system, Bmaxit mini PCs are a smart choice. Trust in our expertise to provide you with a mini PC that meets your exact needs, without the hassle of building it yourself.
By choosing Bmaxit, you’re choosing a partner committed to excellence in mini PC technology. Experience the difference of a Bmaxit mini PC today.